Revell 1/144 CC-117 Cargomaster lll
I wanted to be able to share my modelling progress with my father. We live a considerable distance apart, so I began looking for an electronic means to share progress and finished models. Email and messaging were clunky, and I wasn't comfortable enough to post my work on a modelling forum. One day I noticed an add for an iOS app called Kitted. It seemed to fit the bill, allowing me to document the build in photos and text, and it included a sharing function. I used the app for several years before becoming frustrated with the lack of updates and limited sharing options. In particular, the photos were all trapped on a single iPad, with no way to transfer them to another device. Concerned that I could lose all the photos, I began the painstaking process of transferring the info one photo at a time.
The Cargomaster was started March 1 2020, and completed July 2 2020. Other than the fiddley undercarriage, it was a nice kit that went together well. Aftermarket decals from Xtradecal were used, and seemed a little to light once they were on. One important lesson with the kit was regarding vortices when using an airbrush. The underside of the wings created a huge dead space, creating significant potential for vortices. The vortex increases paint air time, allowing dried paint droplets caught in the vortex, to settle onto the freshly applied paint. This created an extremely rough, sandpaper surface that was very difficult to sand out.
Cockpit
Simple and straightforward. Very little of the cockpit or the internal cargo bay is visible.

Cockpit painted
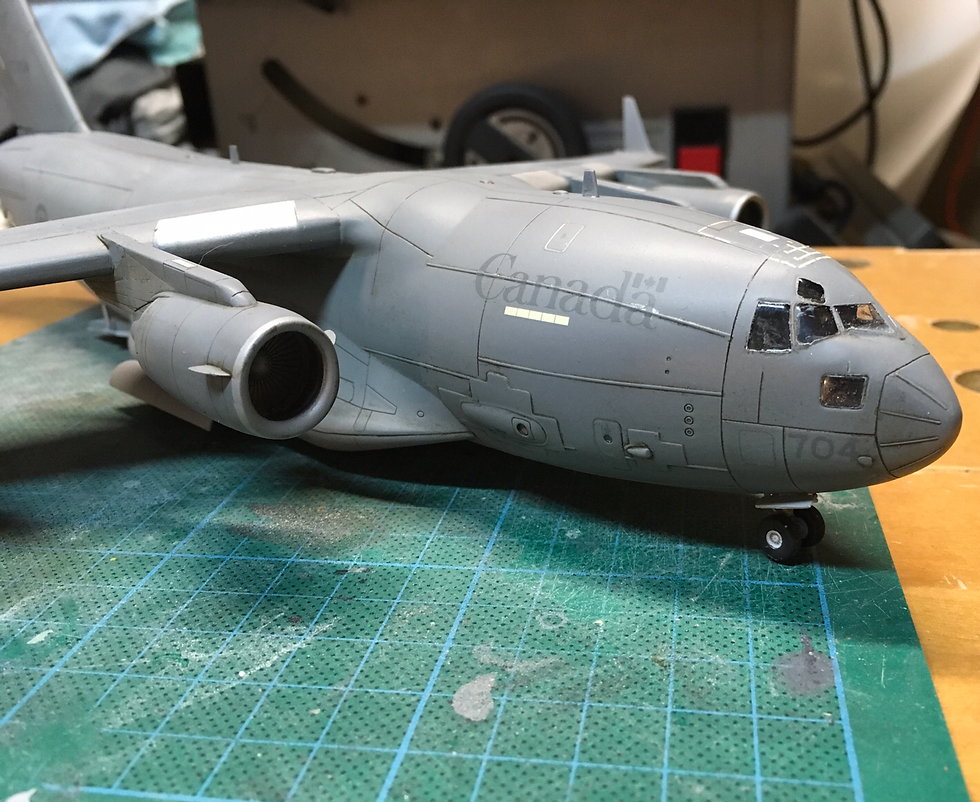
Fuselage
The fuselage used an internal shell, with the cargo bay and associated details moulded separately from the fuselage. The completed internal shell was then sandwiched inside the fuselage halves. Internal detail is good, but nearly impossible to see, even with the rear cargo door opened. The landing gear was a terribly finicky assembly, difficult to align and ensure all wheels would touch the ground. Naturally, I broke bits off multiple times during construction.


Painting & decals
As noted earlier, I had problems with rough finishes caused by air vortices that allowed paint to dry before it was deposited on the model. It naturally happened in difficult to reach places, and was a bear to sand smooth. A lessons learned for next time. I used the correct gray colour but it almost matched the gray of the decals, making them hard to see. Another lesson learned. Otherwise, painting and decalling was straightforward.


The Finished Model
Pictures of the finished model