End of July
- paddleriver
- Aug 1, 2022
- 5 min read
It doesn't feel like there is much to update on this week. The weather was generally very nice - warm but with the exception of last Thursday, it hasn't been too hot. We did have a couple of spectacular thunderstorms late in the evening that were worth staying up for. One with lots of lightening but not much thunder, while the other had a lot of thunder and visible ground strikes. Getting thunderstorm warnings today, and the lighting app shows a lot of activity southwest of us, so there might be another lighting show this afternoon.
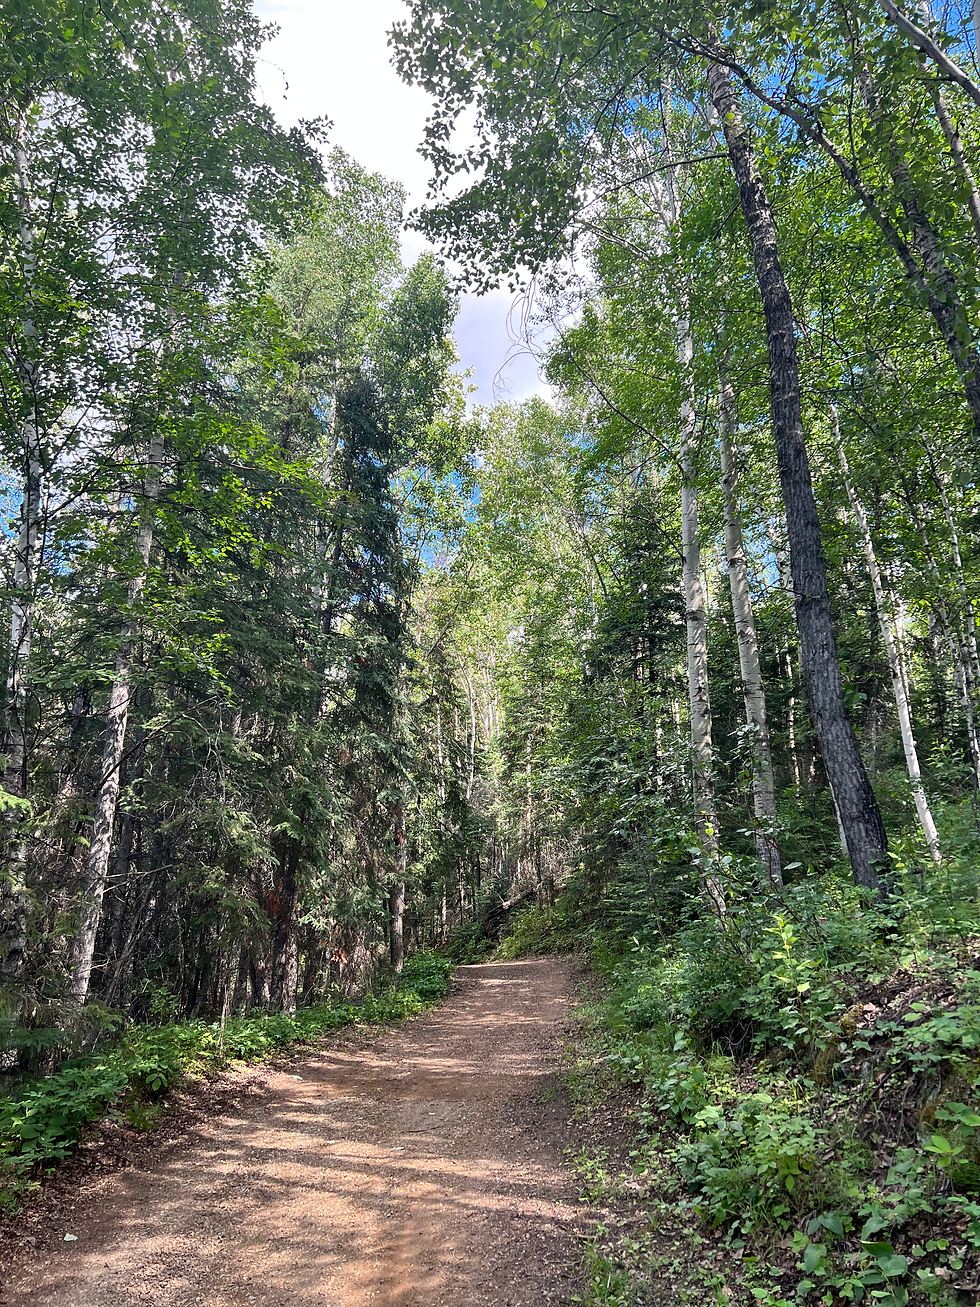
Got a couple of nice bike rides in. The Birchwood Trails are a great place to ride when it is hot. The trees provide shade while the creek helps moderate the temperate.
Christine and I went berry picking on Saturday. I had spotted a great Saskatoon patch last spring while bike riding. The trees are easy to see in the spring when they flower. We were heading down the trail when we met a couple out walking, who warned us there was a bear ahead. Apparently he also spotted my berry patch. We turned around and went to a different spot, where we picked a couple cups of berries. Not enough for a pie but they are great on cereal for breakfast.
Nicholas and I went boating for the first time this year. It was our second trip to Gregoire Lake, but the previous trip was too windy to launch. Sunday was perfect weather - a light wind to keep the bugs down, and sunny but enough puffy white clouds to moderate the temperature.

Marie and I got our fourth covid shot this week. No reactions to the shot this time.
I became a life member with APEGA this week after I declared my retirement. I am now officially a non-practicing engineer.
Daniel is on Vancouver Island this weekend. He sent this spectacular picture.

Enterprise refit
The decals continue to challenge. The instruction's placements are best considered a guide, with actual placement determined once in place. I have also found that the instruction's often show incorrect decal numbers, reversing the port and starboard decals. This gets especially complicated when dealing with overlapping decals that cover a small area. Thought is needed to determine when decals can be placed individually and allowed to dry, versus applying in a group to determine placement and confirm alignment. I have learned it is very important to go back and check recently placed decals to make sure that nothing has moved. Thankfully, the decals are very tolerant of handling and can be poked and prodded into place. Time, patience and careful decal prodding is getting the job done but is very slow.
Decals are almost complete on all the subassemblies. There is still work to remove trapped air bubbles, and to get the decals to fully conform to the parts.
I am starting to think ahead to the next step. I think I will spray a clear semi-matte protective coat to seal the decals, then begin assembling into the final model. The light purple pearlescent paint looks really good under the translucent decals, and I am worried this effect will be lost if a matte coat is used as recommended by the instructions.
Photo 1 - Engine pylons and secondary hull from the rear.
Photo 2 - Secondary hull. The pearlescent shine is visible in the areas where light reflects.
Photo 3 - Front of an engine nacelle. There are 5 different decals in an area about 2cm long and 1.5cm high.
Photo 4 - An example where the decal is in place but not conforming to the underlying surface. More decal solvent needed.


F-35
Two steps forward and one back seems to be the theme this week. The canopy, the light grey, and the dark grey have all been done and redone at least once.
Canopy
I was looking at F-35 pictures, as well as a couple of other model builds, and decided my canopy was too dark. I was going to leave it, but the primer coat showed that the canopy had been glued slightly off centre, so I decided to pull it off. Since it was off, I took the opportunity to repaint it. As the masking was peeled off, I was very surprised to find the clear paints had wrinkled. Not sure why it happened so not sure how to prevent it happening again.
Photo 1 - The wrinkled canopy paint
Photo 2 - This is actually the third try. I think it looks much better.


Paint
I started painting the airframe. A number of things have complicated painting.
The Canadian planes will be newly constructed. The F-35 paint has done thru a very visible evolution since initial deliveries. Earlier jets showed a much lighter grey on all the RAM panels. As jets were delivered, the number of light grey RAM areas decreased. Current deliveries show a nearly uniform overall colour.
The grey colours appear to be evolving. Initial colours, as called out in the instructions, were dark gull grey for the RAM, and camouflage grey for the main airframe. Pictures of recent airframes appear to show darker greys for both colours.
Colour is highly dependent on lighting. The F-35 uses a radar absorbing paint, and is actually a metallic grey. Under bright light it seems to be lighter, and can almost appear to be silver. Under darker lighting, it becomes a very dark grey.
The instructions call for dark gull grey for the RAM (radar absorbing materials) and secondary areas. After applying, it looked too brown when compared to photos of recently delivered planes. A bluer grey was added at a 50/50 mix to get a darker colour, as shown in photos 1&2. It still seems a little brown but looks better. Time to mask up for the main colour.
I decided to mask the RAM panels witth tape rather than try to cut masks. That may not have been a time appropriate decision. Even though the RAM masking is much reduced on recent delivery jets, and is predominantly straight lines, it still took 3 hours to mask.
I struggled to get the correct colour grey for the main airframe. The instructions called for camouflage grey, which is a medium dark grey. Tamiya XF-54 is a pretty good match, but was way too light once applied. A second attempt was made mixing 50/50 XF-24 dark grey and XF-54, but still seemed to light. A third attempt was done using straight XF-24. This is obviously darker but still seems too light. My main concern is that the decals will blend in and disappear if the grey is too light.
Photos 1&2 - Secondary grey on the top and bottom.
Photo 3 - A lot of masking
Photo 4 - Recommended grey doesn't seem dark enough.
Photo 5 - 2nd attempt. Darker but still not dark enough?
Photo 6 - 3rd attempt. Darker again but still seems too light.


I will let the 3rd attempt dry and see if it darkens. The kit decal sheet is for a USAF jet, so I have lots of "spare" decals. I think I will try to apply a few test decals and see what it looks like.
No updates the next couple weeks. Marie and I are off for a trip. The first few days will be in Calgary and then not sure where we will head to after that. Almost certain to include a few quilt store and a hobby store visits.
Take care and stay safe


Comments