June 26
- paddleriver
- Jun 26, 2022
- 3 min read
It has been a lazy Sunday morning. The forecast is for thunderstorms later on, but right now the sun is out, the birds are signing and the lilacs smell so nice. I'm too lazy to do anything more than sit on the deck and enjoy it.
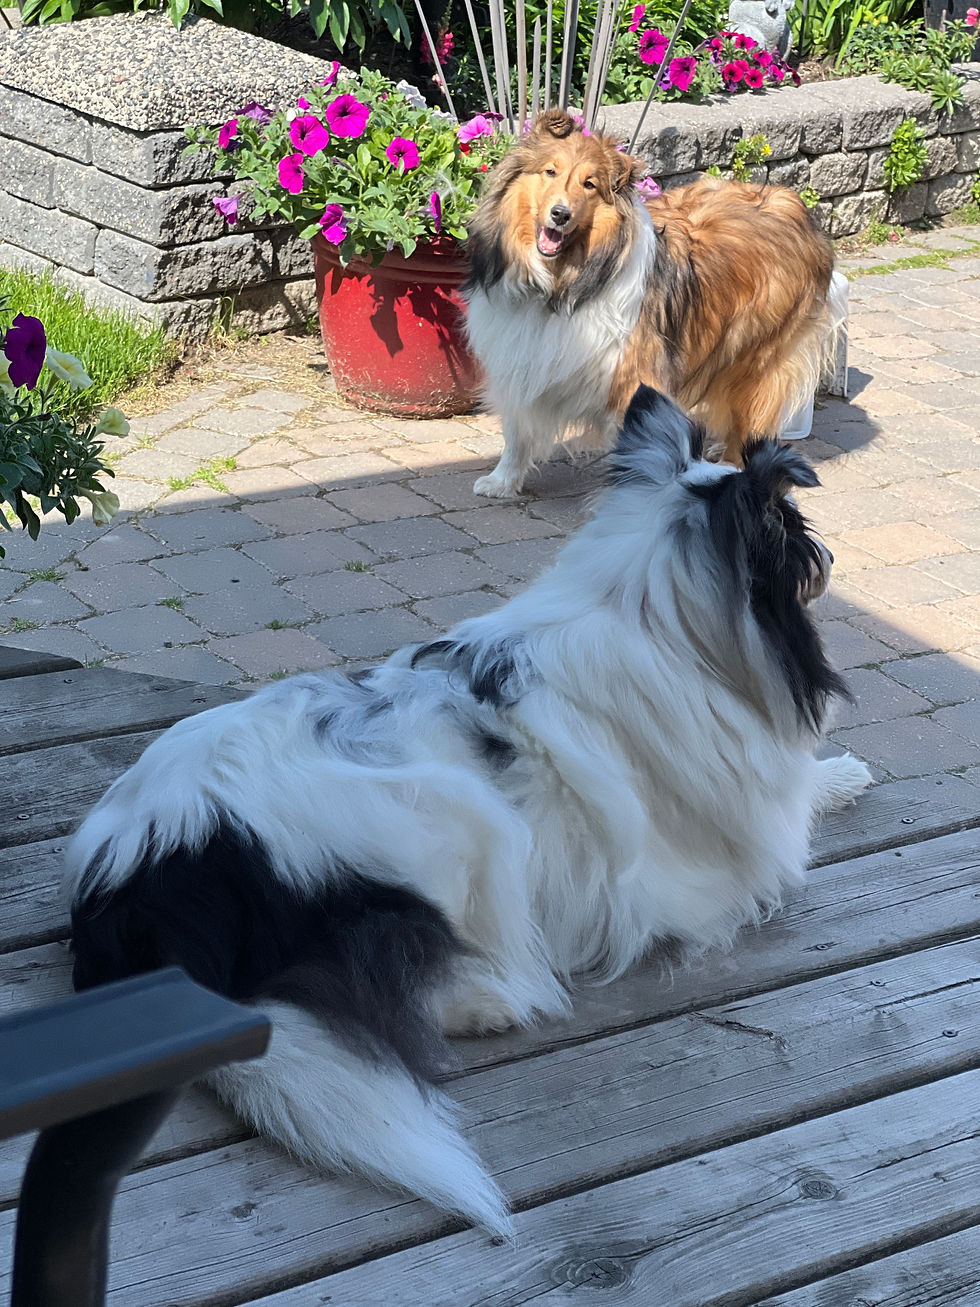
The house is quiet. Marie is inside sewing, Christine is out, and Nicholas was in Calgary after a few days camping in the mountains. Except for Riley, who always wants to play fetch.

It seems like I really haven't done much this week. On models anyway. The table is finished and the chairs are started. The Suburban was cleaned inside and out. And I went on the longest bike rides yet, with two rides of 30 km each. The last one was from our house, thru downtown along the Clearwater, thru Heritage Park, and then up Beacon Hill. The first couple hundred metres of the hill are brutally steep, but then the grade flattens out and is more manageable. I really like the electric bike!
Some spectacular sunset pictures from earlier this week. The yard is really looking nice.


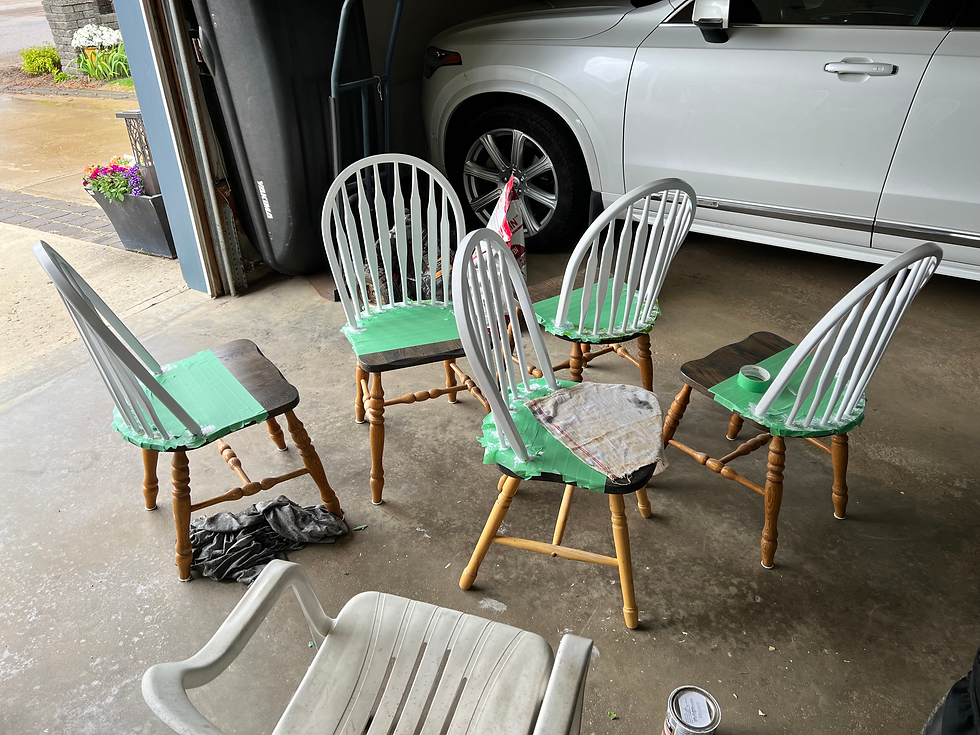
Table and chairs
The table is finished and back in the kitchen. Now for the chairs.
Sanding and staining the chair seats wasn't hard but certainly was an exercise in patience and time. It took three days to remove the old finish, apply two coats of stain, and two coats of varnish. That was the easy part.
Painting the chair back and spindles has been more challenging. The backs use a wedged socket joint, with the rail passing thru the seat, then held in place with a wedge driven into the underside of the back rail. A screw has then been driver horizontally thru the wedge. To hold it in place. I assume the joints are glued as well but don't see any visible evidence of it. I debated trying to remove the chair backs to simplify painting but finally decided it was too risky. That meant the seat had to be masked around each chair rail and each spindle to protect the already stained seat. After some experimentation, I settled on cutting holes in masking tape to wrap around each spindle. Not terribly fast but much easier than trying to place tape around each spindle.
The Paint Store Ladies recommended a coat of primer and then a coat of white paint. They felt that would provide adequate coverage. Experience on the table was that three coats of paint was needed, and that proved the same on the chair backs. Painting chair spindles, with a brush, is an exercise in patience, as it takes about 2 hours for each coat on all five chairs. It was quickly learned that you need to regularly go back over painted surfaces to catch drips and runs before they harden. As of Sunday, the tops are finished. The bottoms are next week's project.
DC-6
Not much progress this week. I spent most of an afternoon trying to trouble shoot my cutter. The auto depth feature wouldn't work, and the blade would only skim the surface rather than cut. Still don't know what was wrong but replacing the blade got things back on track.
The wrinkled wing registration decal couldn't be salvaged and needed to be pulled off. I normally apply tape to a decal and then pull to rip the decal off. Static on the wing was strong enough to push the tape away as I tried to apply it. In the process of trying to lay the tape the decal fluttered! Gently putting a sharp tweezer under a corner resulted in the entire decal coming off! I have never experienced anything like that before.
Forecast is for rain and thunderstorms this afternoon so maybe I will get started on the final gloss coat to seal everything in.
Photo 1 - The intact decal after being lifted off with tweezers.
Photo 2 - The mask in place and the letters have been sprayed.
Photo 3 - The painted registration letters
Photo 4 - The decal placed beside the painted registration. The painted letters look pretty good.


Enterprise refit
Got started on the secondary hull, engine pylons and engine nacelles while waiting for the saucer decals to dry. The kit is a snap fit, and the parts fit together remarkably well. Better than some "traditional" kits I have built. The secondary hull consists of four parts that snap together around the engine pylons. The pylons are each two parts, and the fit was so good that they could have been used without glue. A little filler was needed along the top edge of the secondary hull. The picture below shows everything ready for primer and then the pearlescent white paint.

Someone really wants to play so it's time to go. Stay safe everyone.


Comments